
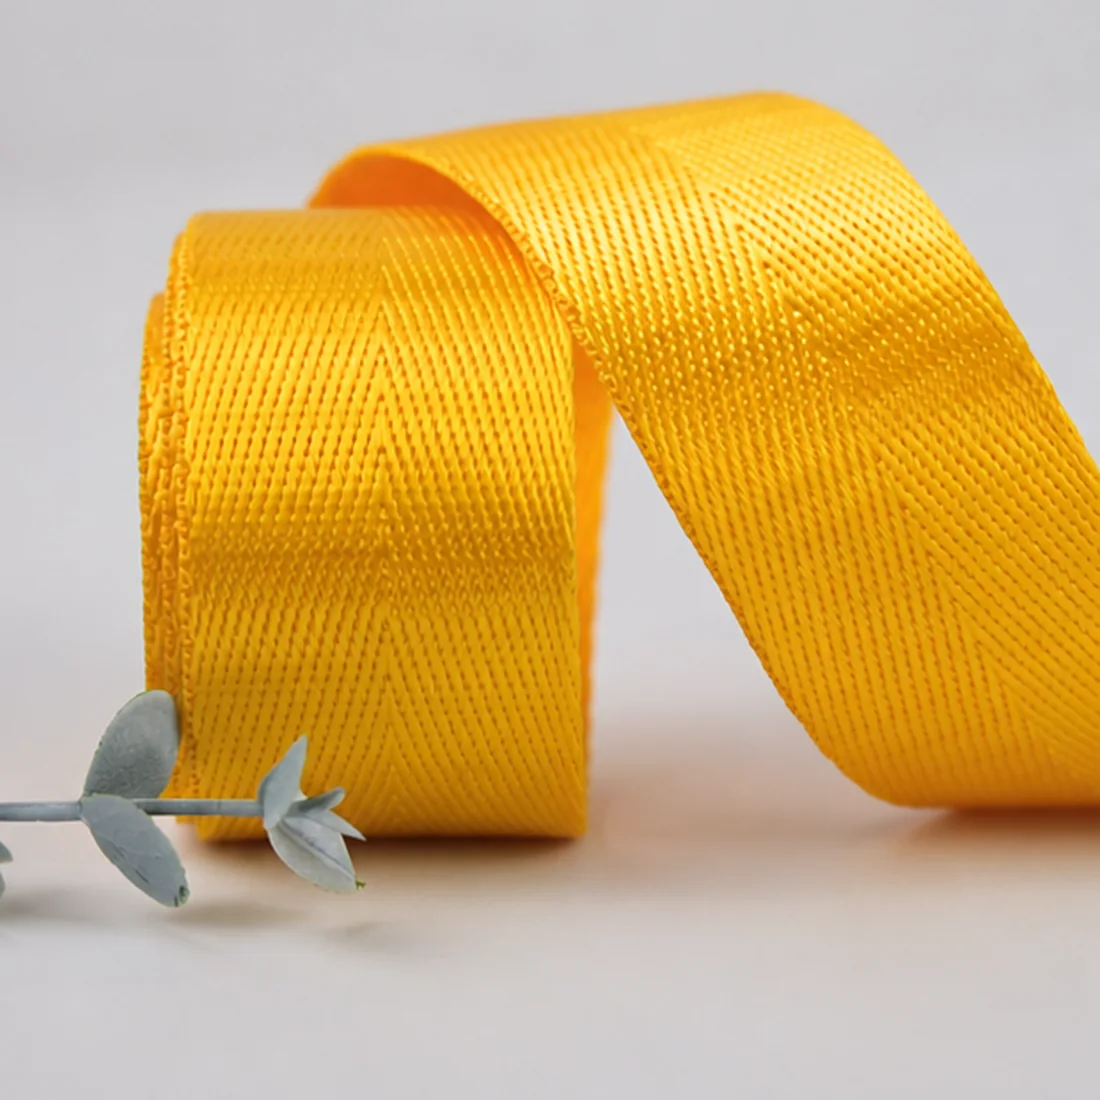
01Classify the Garment Location and Function First
“Webbing trim” can describe very different garment components. A removable waist belt routes through loops and a buckle. A cuff or hood adjustment tab moves through hardware. A hanger loop carries the garment only during storage. A locker loop, zipper pull, pocket reinforcement or exposed decorative tape has another load path and visibility requirement. Begin with the product drawing and mark the exact location, length, orientation, contact surfaces and user action.
State the primary job of each piece: adjustment, suspension, reinforcement, attachment, routing, branding or decoration. Then record the consequence of failure. A slipped adjuster, torn attachment and crooked decorative stripe are not equivalent problems. This classification tells the team whether the approval emphasis belongs on movement, seam security, appearance, care durability or a combination of them.
Do not reuse one trim specification automatically across a jacket, trouser, dress or bag because the tape looks similar. Garment construction, wear position, skin contact, hardware, care label and size grading can change the requirement. One project may intentionally use several webbing items with different widths, hands or finishes. Give each item a unique code and connect it to the bill of materials and drawing callout.
| Garment detail | Primary decision | Assembly question |
|---|---|---|
| Waist belt or side adjuster | Controlled movement and retention | Does the tape route, hold and release correctly through the selected hardware? |
| Cuff, hood or hem tab | Adjustment plus repeated bending | Does the fold and attachment remain usable through wear and care? |
| Hanger or locker loop | Attachment and local support | Is the loop length and seam position correct for the intended garment only? |
| Decorative or branded tape | Visible alignment and appearance | Does repeat, face, edge and seam placement stay consistent on the garment? |
| Reinforcement or attachment tab | Load transfer into the garment | Is the surrounding fabric and seam designed for the applied force? |
02Define the Webbing as a Controlled Component
Translate the design reference into measurable and observable fields. Record finished width and tolerance, thickness with a named condition and method where it matters, construction or approved reference, declared material, hand, stiffness, surface, edge, visible face, reverse-face expectations and any stretch or recovery requirement. ASTM D3774 provides an official width-measurement framework for textile fabrics, but the purchase specification still needs to state how the narrow trim will be presented and where width is measured.
Colour and artwork need their own controls. Identify the physical colour standard, viewing conditions, approved sample and acceptable relationship to the shell, lining, thread and hardware. For stripes, lettering or logos, define artwork file, repeat length, orientation, usable face, centring, edge clearance and where the garment cutting point should fall. Do not let an approval of colour silently approve construction, or an approval of artwork silently approve hand and dimensions.
Describe cut ends and presentation at delivery. A trim supplied in rolls, cut lengths or assembled loops creates different receiving and sewing needs. State length basis, winding or bundling, splice rule, labels, lot identity and whether ends must remain raw, folded, stitched or sealed. The correct end treatment depends on material, appearance, skin contact, sewing operation and product requirements; a generic “anti-fray” instruction is not enough.
- Item code, drawing reference, garment location and approved revision.
- Finished width, thickness condition, construction, hand, face and edge.
- Colour standard, artwork, repeat, orientation and visual approval method.
- Cut length, end condition, delivery form, labels and lot traceability.
- Open variables that the supplier must propose before sampling.
03Engineer the Hardware Path and User Movement
When webbing passes through a buckle, ring, slider, eyelet or slot, width alone does not determine fit. Thickness, edge firmness, surface friction, fold radius, hardware clearance and the number of layers affect threading and movement. Test the narrowest and widest credible component combinations within tolerance. Confirm that the tape can be assembled without damage and that it neither jams nor releases unintentionally in the intended direction.
Map the complete route, including folds, bartacks, hidden returns and areas where the reverse face becomes visible. Check whether a sharp slot edge, burr, coating or seam allowance contacts the same point repeatedly. The hardware sample must have a controlled identity because changing slot geometry or surface finish can alter both movement and wear even when the webbing is unchanged.
Use a realistic user sequence instead of pulling the loose tape once. Adjust it while the garment is worn or supported as intended, then inspect twisting, edge curling, puckering, slip, local glazing, colour transfer and interference with nearby fabric. A component can feel acceptable on the table yet become difficult to grip, uncomfortable or visually unbalanced after it is folded into the garment.
| Fit variable | What to record | What to check in the garment |
|---|---|---|
| Width and slot clearance | Finished range for tape and hardware | Threading, centring, edge contact and lateral play |
| Thickness and layers | Single layer, fold and seam stack | Jamming, bulk, fold shape and closure |
| Surface and edge | Face, reverse, edge firmness and hardware finish | Movement, slip, snagging and visible wear |
| Routing direction | Entry, exit, return and load direction | Twist, reverse-face exposure and user access |
04Design the Seam and Attachment as a System
ASTM D6193 explains that seam engineering balances fabric, seam type, stitch type, stitch density, thread tension and thread properties according to end use. That principle matters for narrow trims because a dense or firm tape can respond differently from the garment fabric. A stitch pattern copied from another style may perforate the shell, distort the tape, cause puckering or concentrate force at the end of an attachment.
Specify the actual seam anatomy: overlap or insertion length, folds, seam or stitch type, row position, thread, needle, stitch density, reinforcement and direction of applied force. Include the shell, lining, interlining or reinforcement patch in the trial. The webbing may remain intact while the surrounding fabric tears or the stitches pull out, so component strength must not be treated as proof of attachment strength.
ISO 13935-2:2026 covers maximum force to rupture for straight sewn seams using a grab method and states important applicability limits. It can support a suitable straight-seam decision when the laboratory confirms scope, but it is not a universal test for every curved, bartacked or multi-layer garment detail. For unusual geometry, document an application-specific assembly method with fixture, loading direction, specimen preparation, endpoint and reporting rules approved by the responsible technologist.
- Use production-intent shell, lining, reinforcement, thread and webbing.
- Record seam geometry and load direction rather than naming a stitch alone.
- Inspect tape damage, stitch failure, seam opening and base-fabric damage separately.
- Preserve failed specimens or photographs so the failure mode is not reduced to one number.
05Validate Care, Colour and Appearance on the Finished Garment
The trim must follow the garment’s intended care route. ISO 3758:2023 establishes care-labelling symbols around treatments that do not cause irreversible damage, while ISO 6330:2021 defines multiple domestic washing and drying procedures for textile testing. The ISO 6330 public scope warns that machine, detergent and dryer parameters can affect results. Therefore, “wash tested” is incomplete unless the procedure and drying route are named.
Test the production-intent combination, not only the loose tape. After the agreed care sequence, inspect garment dimensions, trim length, skew, twisting, curling, puckering, stiffness, surface change, hardware interaction, seam appearance and any differential shrinkage between tape and garment. Recheck adjuster movement and alignment. A trim that changes differently from the shell can distort the detail even when neither component appears damaged alone.
Colour transfer is a separate risk from physical wear. ISO 105-X12 addresses resistance of textile colour to rubbing off and staining another material using dry and wet rubbing conditions. Where a dark tape contacts a light shell, lining or underwear, define the relevant contact and evaluation. Also inspect colour change after the selected care route. Do not convert a rubbing result into a claim about washing, abrasion life or chemical safety.
| Approval stage | Specimen | Decision |
|---|---|---|
| Loose trim screen | Identified webbing construction and colour | Is the component suitable to enter garment sampling? |
| Sewing trial | Trim plus production-intent material stack | Can the planned seam be made without damage or distortion? |
| Hardware trial | Trim, hardware and real routing | Does adjustment and retention work throughout the required range? |
| Care trial | Finished garment or representative assembly | Does appearance, dimension and function remain acceptable after the named care sequence? |
| Pre-production approval | Final sizes, colours and revisions | Are all controlled references ready for bulk release? |
06Approve the Size Range and Production Revision
A trim length that works on one sample size may fail after grading. Review the smallest and largest relevant sizes, the available adjustment range, overlap, tail length, loop position and hardware access. If cut length changes by size, put the rule in the technical pack and separate it from the delivered roll length. Confirm left-right pairs and directional artwork so production does not mirror or rotate a visible detail incorrectly.
Create an approval record that links the webbing item and lot to the garment style, colourway, size set, hardware revision, seam construction, care procedure and signed sample. Keep the approved physical specimen under defined storage and replacement conditions. Photographs are useful for location and appearance, but they do not replace a tactile reference or measured construction record.
For repeat orders, require notice before changes to fibre declaration, yarn, weave or knit, density, width, thickness, finish, dye route, colour standard, edge, artwork, cut method, supplier site or hardware. Decide which changes require a new component screen, sewing trial, care test or full garment approval. “Same style number” is not enough when the configuration has changed.
07Apparel Webbing Trim RFQ and Approval Checklist
Send one controlled brief to all suppliers so quotations and samples use the same assumptions. Include garment type and target market, annotated drawing, webbing item code, location and function, dimensions and tolerances, construction or reference sample, declared material, hand, face, edge, colour or artwork, hardware, seam, cut ends, care route, size rules, test responsibilities, sample stages, packaging and required records.
Ask the supplier to identify proposed deviations and open decisions. A useful response distinguishes what is confirmed, what is based on a reference, what requires sampling and what needs laboratory or garment validation. Do not accept broad phrases such as “garment quality,” “colourfast” or “strong webbing” as replacements for a named requirement and approval boundary.
- Garment drawing, trim location, primary function and failure consequence.
- Item identity, width, thickness condition, hand, face, edge and tolerances.
- Colour standard, artwork, repeat, orientation and visual approval conditions.
- Actual hardware, routing, adjustment range, folds and user movement.
- Shell, lining, reinforcement, seam construction, thread and attachment direction.
- Named care sequence, rubbing or other applicable tests and acceptance owner.
- Size grading, sample gates, retained references, packaging and change-notification rule.
08Frequently Asked Questions
What information should an apparel webbing trim specification include?
Include the garment location and function, item code, finished width and thickness condition, construction or reference, material declaration, hand, face, edge, colour or artwork, hardware route, seam, cut ends, care sequence, size rules, acceptance checks, sample stage and change-notification requirements.
Can the same webbing be used for a garment belt and a hanger loop?
Possibly, but visual similarity is not approval. The two details have different routing, load, seam, length, wear and user requirements. Validate each location with its actual garment materials and construction, then record whether one controlled item is approved for both uses.
Is webbing width enough to confirm buckle or adjuster fit?
No. Thickness, edge firmness, surface friction, folds, number of layers, slot geometry, clearance and direction all affect movement and retention. Test the production-intent tape and hardware across credible tolerances and in the real routing.
Should apparel webbing be wash tested before bulk production?
If the finished garment is intended for domestic care, validate the webbing in the production-intent garment or representative assembly using the agreed washing and drying procedure. Inspect dimensional interaction, twisting, puckering, colour, surface, seams, hardware and function rather than checking the loose tape alone.
Does a webbing breaking-force result prove the garment attachment is strong enough?
No. The attachment also depends on garment fabric, reinforcement, overlap, seam and stitch type, thread, needle, direction and workmanship. Evaluate the sewn assembly with an applicable standard or documented application-specific method selected by the responsible technologist.
09Continue From Guide to Specification
Compare the relevant product family and application page before sending your RFQ.
10Sources & further reading
Sources support the principles discussed; the final specification and test plan must follow the application and buyer requirements.
- ASTM D6193-16(2025) — Standard Practice for Stitches and SeamsASTM International
- ASTM D3774-18(2024) — Standard Test Method for Width of Textile FabricASTM International
- ISO 3758:2023 — Textiles — Care Labelling Code Using SymbolsInternational Organization for Standardization
- ISO 6330:2021 — Domestic Washing and Drying Procedures for Textile TestingInternational Organization for Standardization
- ISO 105-X12:2016 — Colour Fastness to RubbingInternational Organization for Standardization
- ISO 13935-2:2026 — Maximum Force to Seam Rupture Using the Grab MethodInternational Organization for Standardization